| I’m thrilled to finally share some of my favorite shots from my Finland workshop with PhotoQuest Adventures. When the founders of PQA, Mirjam and Najat, approached me about leading a Northern Lights workshop to the Lapland region of Finland, it took me about .0001 seconds to say “YES!” Located in the Artic Circle, the Laplands are comprised of the Scandinavian countries of Norway, Sweden, and Finland, and offer about 200+ nights of excellent aurora viewing.
We chose to go in March, because during the equinoxes, the tilt of the Earth’s magnetic field opens a wider window at the North and South Poles. The solar wind carries the ejected electromagnetic particles from the sun, and if they enter these “windows”, they will mix and interact with the many particles in our magnetosphere and create auroras.
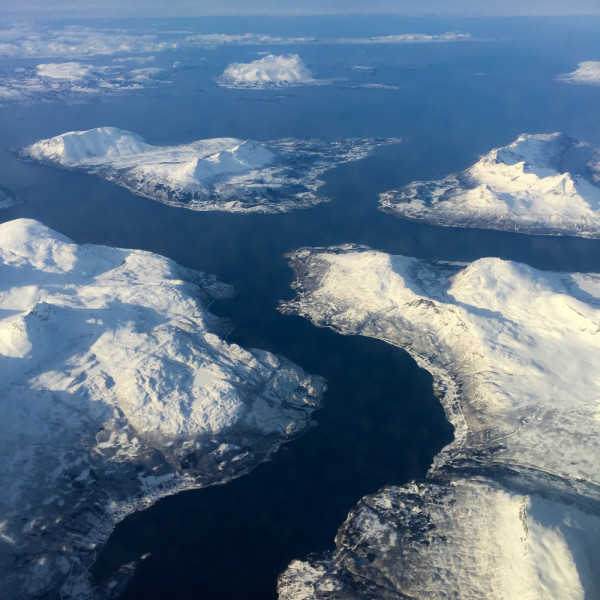
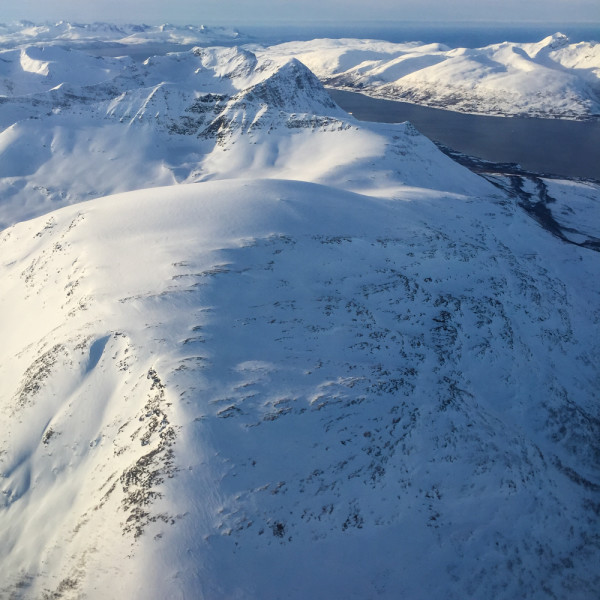
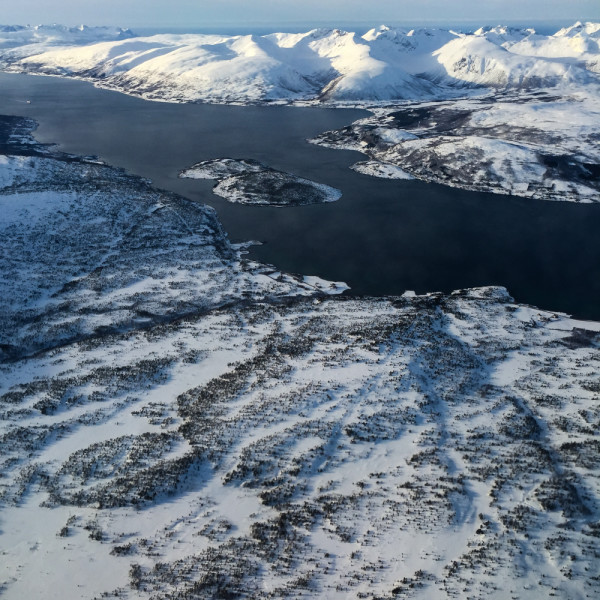
As most of you know, I am a road warrior. To say that I travel a lot is a bit of an understatement. Yet, this flight was extraordinary – I was in total awe flying into Tromsø, Finland. The spectacular scenery – snow covered and mountainous islands and fjord cutting rivers made me feel like I was truly entering the Land of the Giants. |
|
 |
 |
 |
|
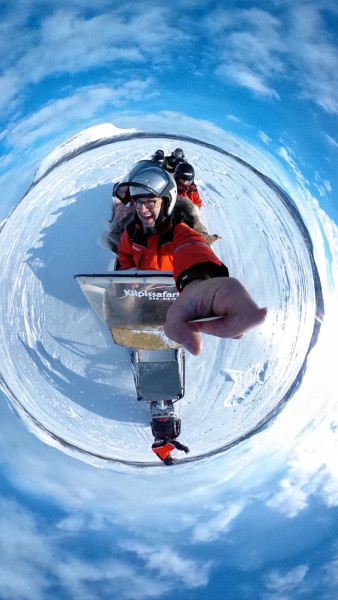
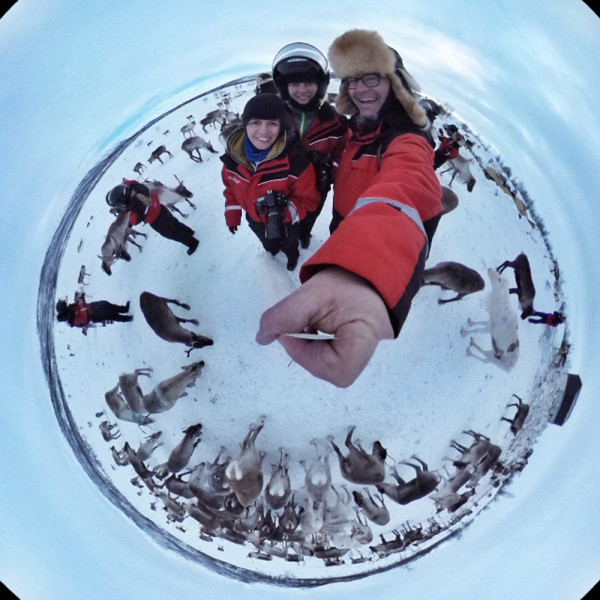
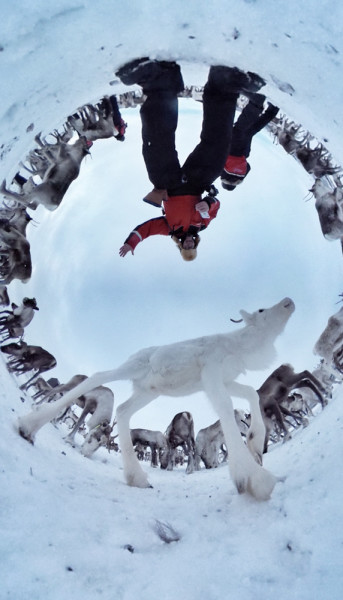
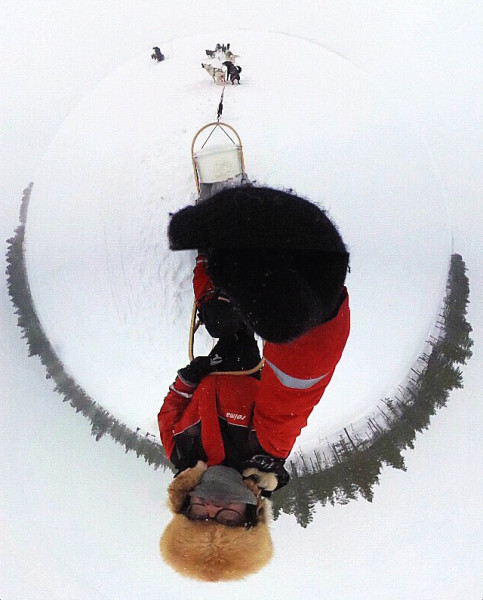
| For the next 5 days we would base our operations out of one of the region’s largest villages, Kilpisjärvi, which maxed out at a population of 150. Our fearless guide, ironically a Kiwi, Gareth, fell in love and married into the Finnish Lapland region several years ago. The first matter of business was to outfit us with the proper winter-wear. Average temperatures this time of year were 0-20F at night and about 20-40F during the day. PQA made packing our bags much easier by organizing winter clothes to rent for the entirety of the workshop. Local tour guide, Jussi (sounds like Yussi), got us outfitted in the warmest clothes – hats, gloves, snowsuit, wool socks, and wool lined boots. I brought some REI warm weather gear but it didn’t hold a candle to the rental gear that we had. I have to say, that as long as we wore those clothes, we never felt the cold.Properly dressed, we jumped into a sled (pulled by a snow mobile) across the frozen lakes boarding Finland and Sweden to visit the reindeer! My popular daytime camera ended up being the 360-degree Ricoh Theta point and shoot camera. The three images below show the unique and otherworldly views that you can create with this $300 camera. The Theta has a lens on both sides of its simple body and you will capture everything except what’s underneath it. The first two images show the “Little Prince” like tiny planets that you can create when you hold the camera up high. For the third image, I placed the camera on the ground and then triggered it remotely with my phone as soon as the white reindeer got into the perfect position. The Ricoh creates a unique 360 interactive viewing that you can see here. However I like to manipulate the image on the phone and then take a screen shot and share. The screen shots are obviously a low-resolution quality, but as of right now this is the only option to “freeze” or print and image taken with the Theta. |
|
 |
 |
 |
|
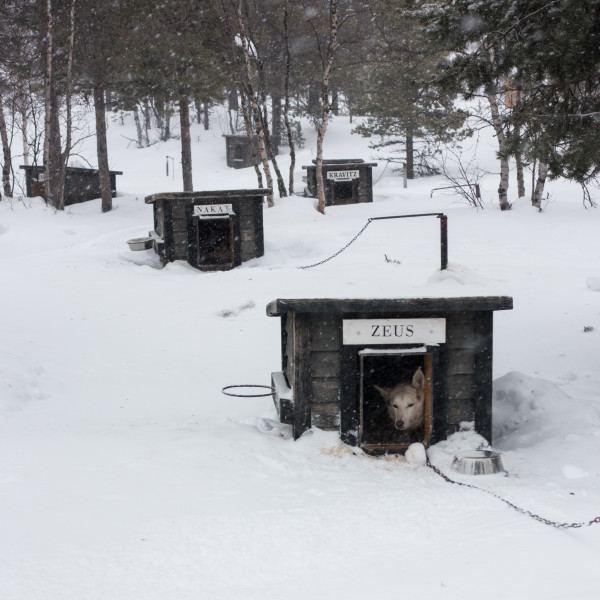
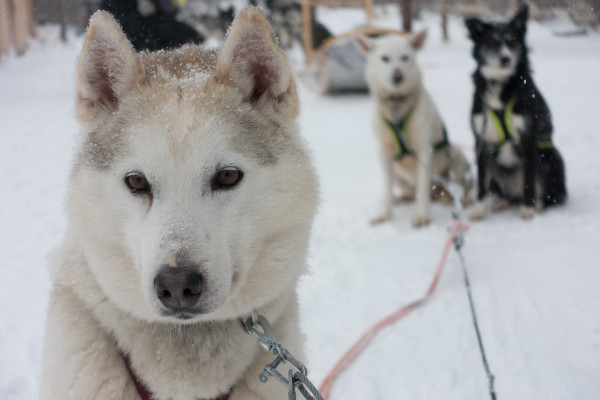
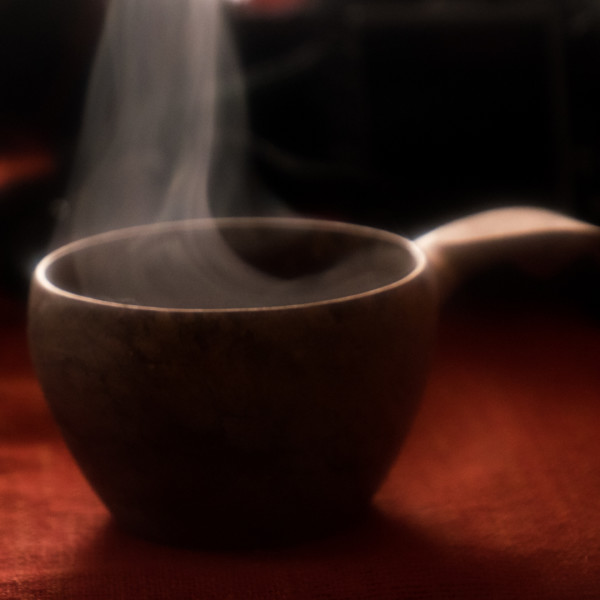
| That night we experienced the Northern Lights for the first time – we were all very excited and got some great shots. However, out of the 1800 photographs I took during our workshop, the first nights just missed the final cut.Now typically when I teach a night photography workshop, we don’t meet until 11am-12pm the next day. Unlike any workshop I have experienced, PQA emphasizes the total adventure, and there is no time to waste! The second day’s exploits were to include dogsledding and a night in a glass igloo! I’ve always dreamed of leading a pack of Artic dogs across the snowscapes and let me tell you it is no easy feat! There were over 150 dogs on the Husky Farm, and each one of us were divided into two-team sleds with 7 dogs. After a quick lesson on how to apply the braks and to Never Let Go – we were off! Man those dogs like to drive! We were led through curving paths, fell birch forests, and over frozen lakes – breaking and barking all the way! Our destination was a warm hut or kota, about 45 minute later, where we were able to warm up with a wooden cup full or comforting cocoa.The ride back was a bit hairier; the snow had picked up making visibility and the path hard to follow. My glasses were turning into pinholes and I’ll admit that I fell once or twice, but never let go! With the help of our wonderful team, I got back in the saddle and Onward Ho! It was truly a wonderful adventure and I look forward to playing Yukon Cornelius on our next visit! |
|
 |
 |
 |
|
 |
|
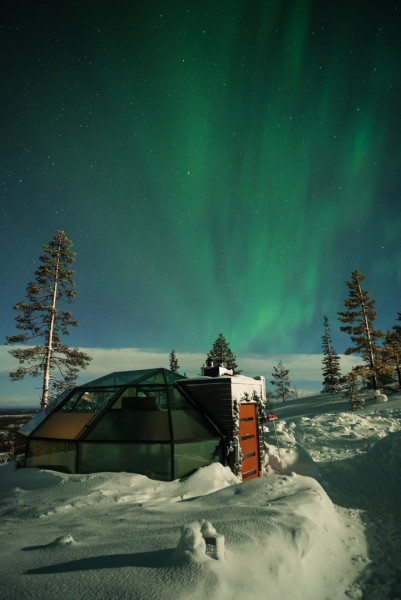
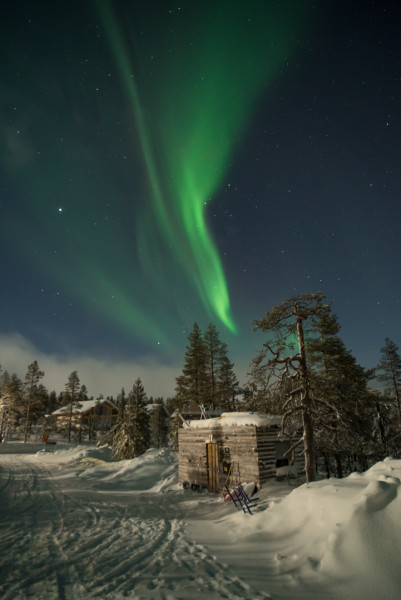
| The night at the Glass Igloos was magical. No, they were not made of ice, but they did offer amazing panoramic views from the top of a mountain. We enjoyed a wonderful home cooked meal in the Kota and were introduced to the popular PQA game of LCR, as we waited for the auroras to appear. They auroras typically started to show themselves from 9pm-11pm and then again around 1am. Some were incredibly vivid and seem to melt the whole sky. Others are barely visible to the naked eye; they look more or less like milky, curiously shaped clouds. However, our cameras can “see” a wider range of colors than our eyes, and when we pointed our cameras skyward, we would start to see these subtle auroras dancing above us. The auroras can get as close as 60-120 miles from the earth’s surface. The shot on the right was the first lightening bolt from the green fairy that we witnessed, and it turned and twisted its away across the sky for a good 30 minutes. The image on the left was probably the most spectacular aurora I experienced. It was so huge and seemed to engulf the whole sky as it plummeted towards us, but at the last minute, it turned up and onto itself in an amazing fashion. The middle shot is later in the night and a bit more of a subtle aurora over my igloo. I tried to go to bed at 3am, but the northern lights were still playing in the sky! So I put up my tripod at the head of my bed, pointed upward, and set the camera to take a shot at an interval of every 30 seconds. I’ll hopefully have a time-lapse of that to share with you in a later post. |
|
 |
 |
 |
|
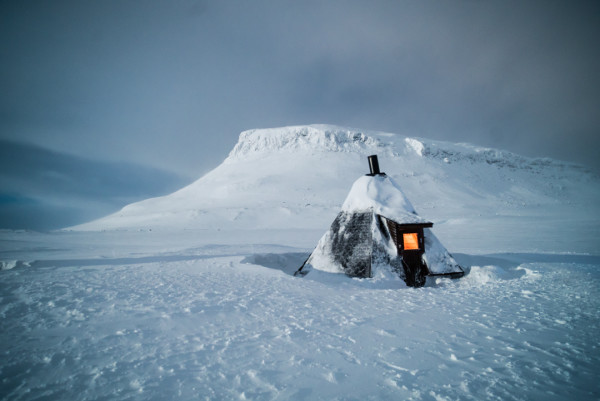
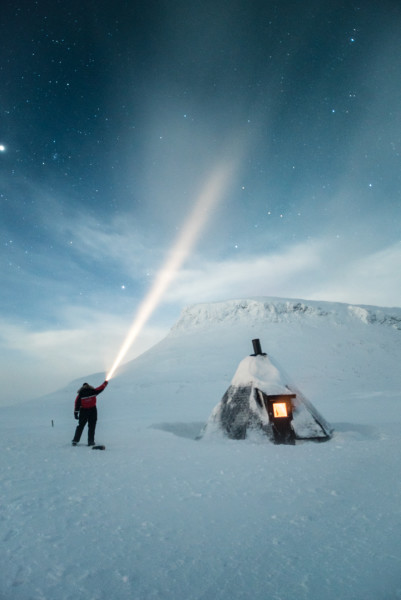
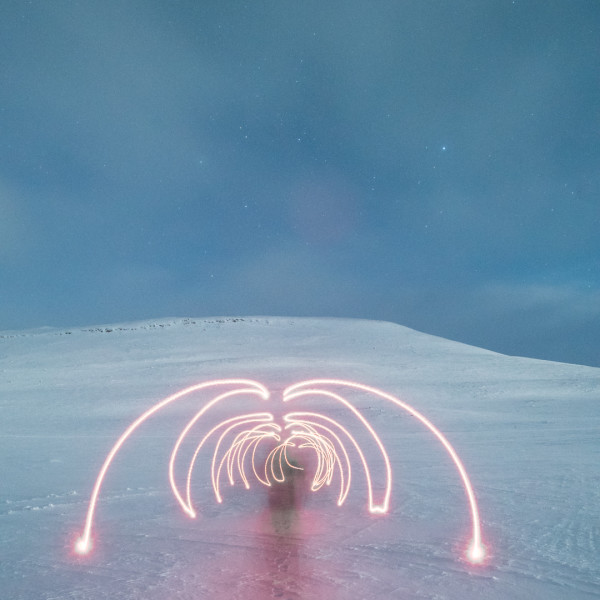
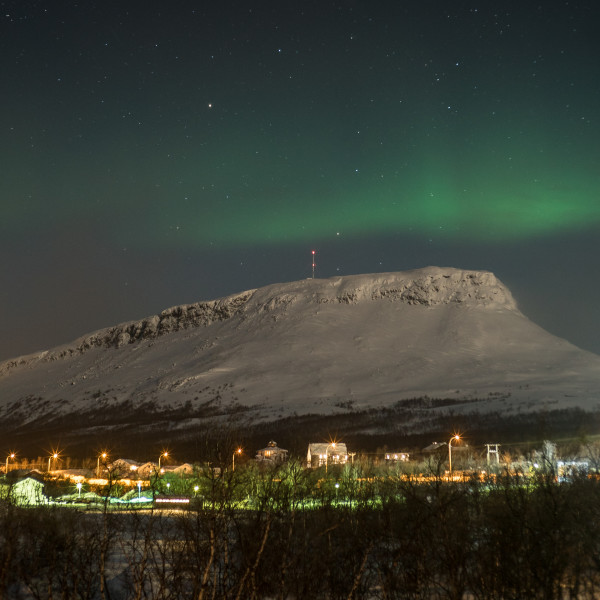
| The next night Jussi and Gareth drove our sleds towards the mountain called Saana, looming over our hometown of Kilpisjärvi. The weather was not very cooperative, it seems like the giants were battling. We had a 1-hour window of aurora viewing before the clouds rolled in. So, we gathered in the warm kota and listened to the tale of how Saana came to be. According to the legend of the giants, Sullen Saana fell madly in love with the beautiful Malla. On their wedding day, the jealous Pältsä asked the evil and elderly women of the Lapland to help him release the northern winds upon the ceremony. The cold winds created a storm of epic proportions and froze everyone where they were. Saana and lovely Malla ran and tried to escape, but the winds were fierce. At the last moment, Saana rushed the lovely Malla to her mother, Big Malla and where those giants froze, they now became treeless mountains or fells. The tears of lovely Malla formed the Kilpisjärvi lake and the jealous Pältsä also became a frozen mountain in what is now Sweden.Inspired by this story and itching to shoot, several of us went back outside. The clouds were still hiding any auroras, but we had fun light writing and ripping some aurora-less nocturnal exposures. |
|
 |
 |
 |
|
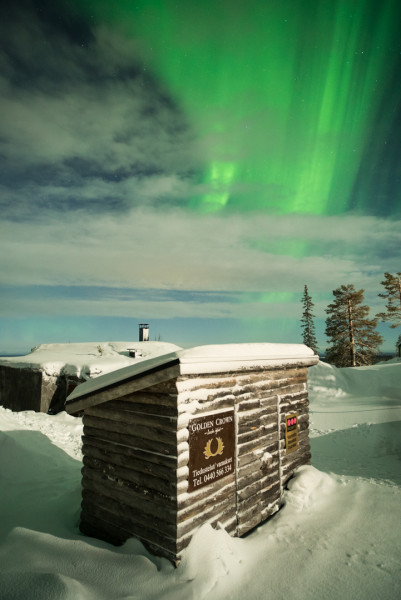
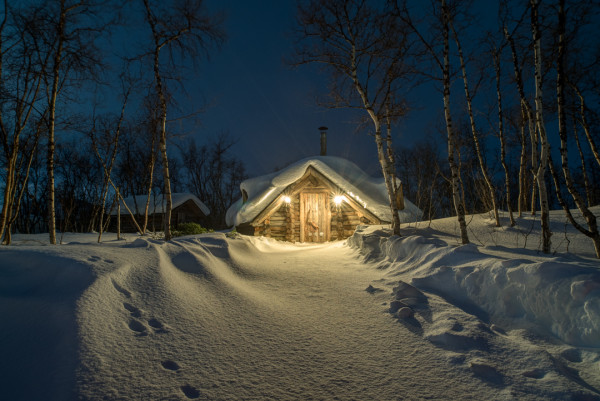
| On our way back to our cabin, we passed a pristine, snow covered, and “just out of a fairy tale” cottage. I had to shoot it. I set up the tripod low to emphasize the animal footpath on the left. This is one of those images where the bright lights on the door and the low ambient light created a dynamic range too high to capture in one shot. I took several pictures, careful not to move the tripod, as I knew I would need to blend them together as a composite or HDR image later. The final shot ended up being a composite of 2 images one taken for the shadows, a 60 second exposure and blended with one retaining the highlights 3 stops under. This helped saved the highlight detail of where the two lights were spilling on the snow and house. |
|
 |
|
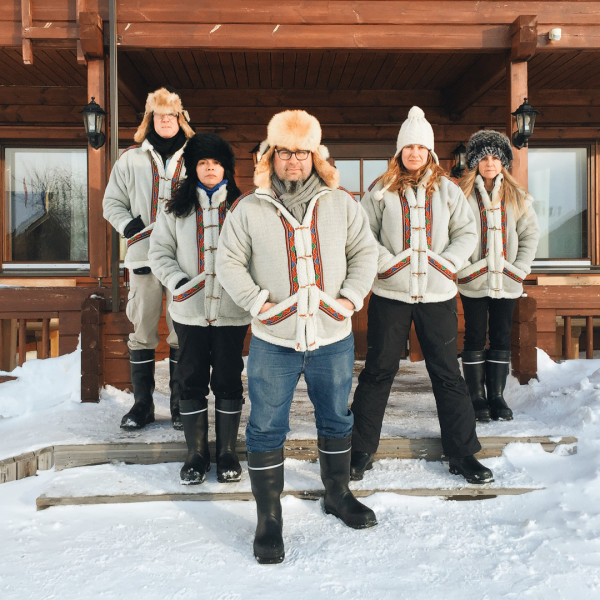
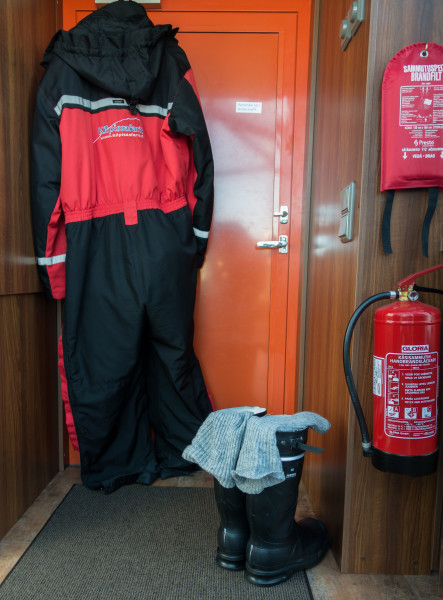
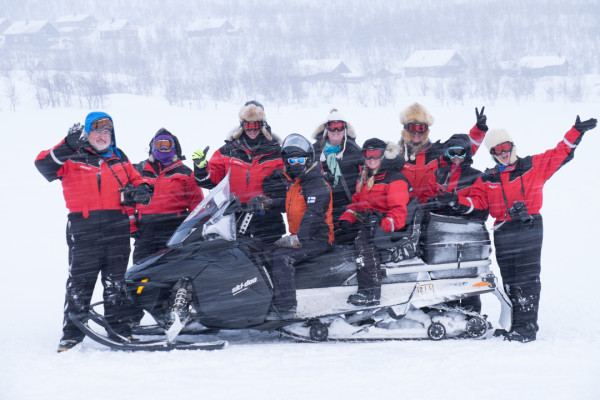
| Finland Fashion is trending! There wasn’t much time for shopping but Gareth did take us to one of the biggest and family owned gift shops. You could find everything from gnomes and trolls to the popular 3D magnets and pictures and lots of winter wear and donuts in between. I really wanted to bring back an authentic sweater and when I tried on the one from our Sweater Gang shot below I knew it was a hit. I guess I inspired 4 more from our group, and one (Allison) who now regrets not joining our posse! The hanging snowsuit and wool lined boots show off a bit of the warm clothes that we rented and kept us super cozy – though they took about 10 minutes to layer everything on! I typically wore a wicking long underwear base layer, then a 2nd layer of jeans and a REI thin puff jacket, before finally jumping into the snowsuit outer shell. The third shot shows the group in full regalia |
|
 |
 |
 |
|
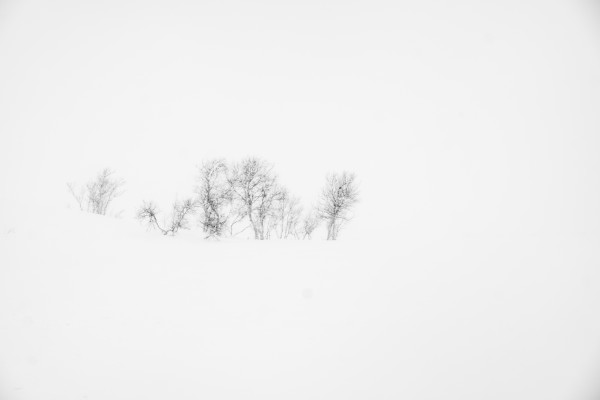
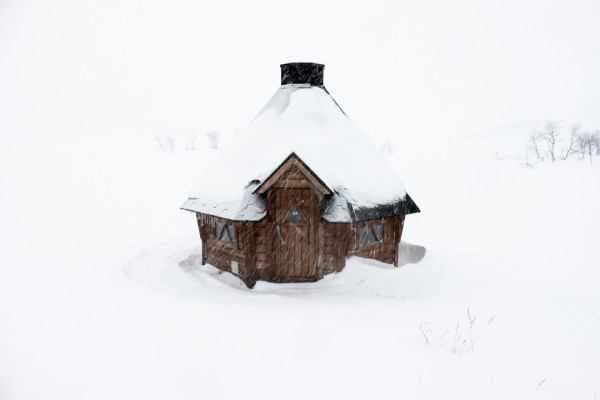
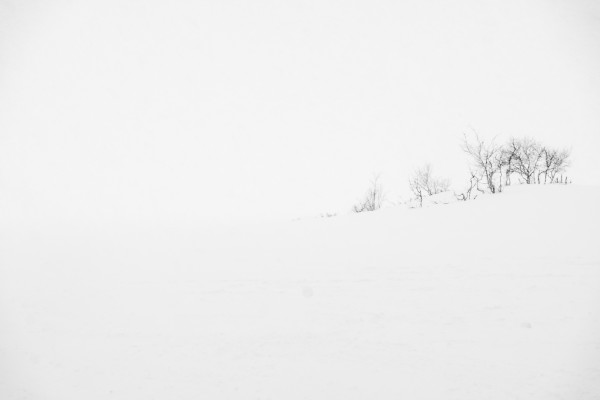
| The last day was a bit blustery and I decided to put the weather sealed Fujifilm XT1 and 18-135 lens to the test. You can see a fun picture of all the gear I brought with on Instagram. I typically rolled with the Fuji during the day and the Sony A7s with the Zeiss 21mm 2.8 lens, and metabones adapter at night. If you have gear that can shoot successfully in inclement weather, it opens up some pretty amazing shooting opportunities. I love the high key abstract studies of the buried birch fell trees that I was able to create during the height of the snowstorm. Both were shot at 1/60 of a second but if you look closely you can see the snow movement against the black trees, which gives it a very brushed and painterly feel. I converted the images on the right and left to B&W but loved the warm wooden colors of the Kota against the cool blue snowscape in the middle photograph. And the Fuji XT1 and 18-135 lens? They survived like champs for over 2 hours in the storm. |
|
 |
 |
 |
|
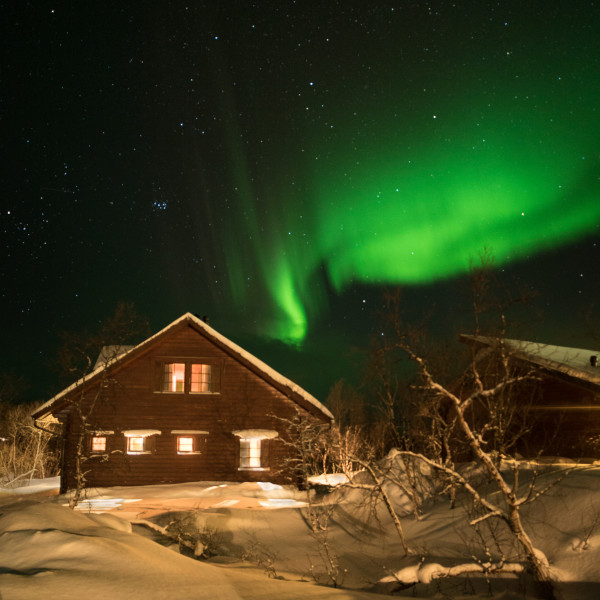
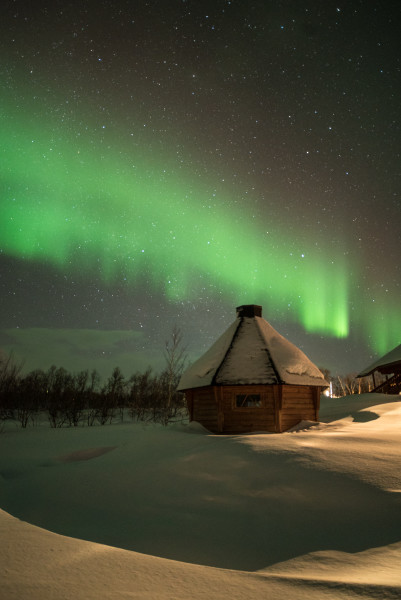
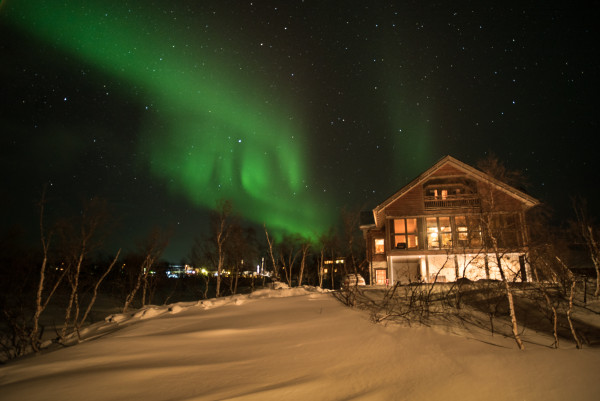
| The storm continued until the early evening and it looked like we had seen the last of the auroras. We had a hearty final supper and reminisced on the many adventures we had experienced over the last 5 days. However, it looks like the giants were going to grant us one last wish – when we left the restaurant, the skies had mysteriously become clear and full of stars. And about an hour later the green fairies lit up the sky for a wonderful last night of shooting. |
|
 |
 |
 |
|
 |
|
Gabe’s tips for shooting the Northern Lights:
- Location Location Location. It is all about the location. Getting to a region that is within the aurora belt is the first order of business. Places like Alaska, Northern Canada, Iceland, and the Laplands are probably the most popular destinations. In fact, I’m offering an Iceland Workshop during the next equinox in 2015 with Tim Cooper. I know lots of Alaskan adventures but PQA is the only group I know that offers an Aurora and Adventure workshop in the Lapland region. Stayed tuned for our 2016 dates!
- Understand the Auroras. We discussed the best times to increase your chances are during the month of March and September, around the equinoxes. It is hard to predict when the auroras will peak; we’ve only been studying them for 100 years. But we do know a few basics. There is an 11-year cycle during which the sun produces sunspots and solar storms. The height of this cycle was in 2013/14. It takes about 2 days or 30 million miles for any Coronal Mass Ejection (CME) or outburst from the sun to reach the earth. There are some websites and APPs that can help predict the activity. The one I’ve found the most useful are:
http://www.swpc.noaa.gov/products/30-minute-aurora-forecast
https://itunes.apple.com/us/app/aurora-forecast./id539875792?mt=8
- Like any good picture, a strong foreground is key. The Land of Giants offers a varied landscape and very little light pollution that would interfere with experiencing the auroras. I loved playing the man-made buildings against the heavenly skies. Don’t just point your camera to the sky – find something intriguing to anchor the image.
- Auroras = Shorter Exposures. I think the longest shutter speeds I used were probably 30 seconds. The auroras are moving, some quicker than others but you want to capture the various shapes of the northern lights and not have them just turn into a blur. I was typically shooting at 4-8 seconds at f/8 at ISO 3200-6400. This was easy with the Sony A7s, which I feel comfortable shooting up to 51,200 ISO. Bring the right gear – cameras capable of shooting at 3200-6400 ISO, sturdy tripod, cable release, and a wide and fast lens will help you get spectacular shot.
- Plan around the phases of the moon. Great images can be created with and without the moonlight. Some people feel a bright moon blows out the auroras, we didn’t experience this on our workshop which was had 3 nights of a full moon. The full moonlight helps light up the foreground. Without that light, you will need to work harder to find really interesting silhouetted shapes to play against the sky. You can also light paint stronger and smaller compositions.
CARPE AURORAS! |
|


